
I’ve received a lot of questions about my iPad, how I use it to take notes and whether or not it’s a good buy for grad school. Personally, I think it was totally worth the money: having the iPad saved me so much time, space, energy and resources. So here is my review of my iPad and exactly how I took notes!
Why I loved using my iPad for OT school:
- It saved me so much space in my backpack. No need for notebooks and binders for every single class, you can download textbooks onto it, and so much more!
- It saves paper (speaks for itself)
- Extremely customizable notes – I use Notability and can erase, rearrange, and add new notes at any time.
- Extremely portable – walking and taking notes has never been easier
- More sanitary! You can’t clean paper without ruining it, but you can clean an iPad – very useful after being in the cadaver lab.
- One stop shop for everything you’d have on a computer, but easier to carry around!
- Type OR handwrite your notes with the Apple Pencil. Lots of studies have been done to prove that handwriting notes is better for retention.
- Easy to share notes and resources.
How I took notes with my iPad:
To take notes, I use the app Notability. I love it for so so many reasons, and here I will show you snapshots of the app, features of the app, and how I take notes.
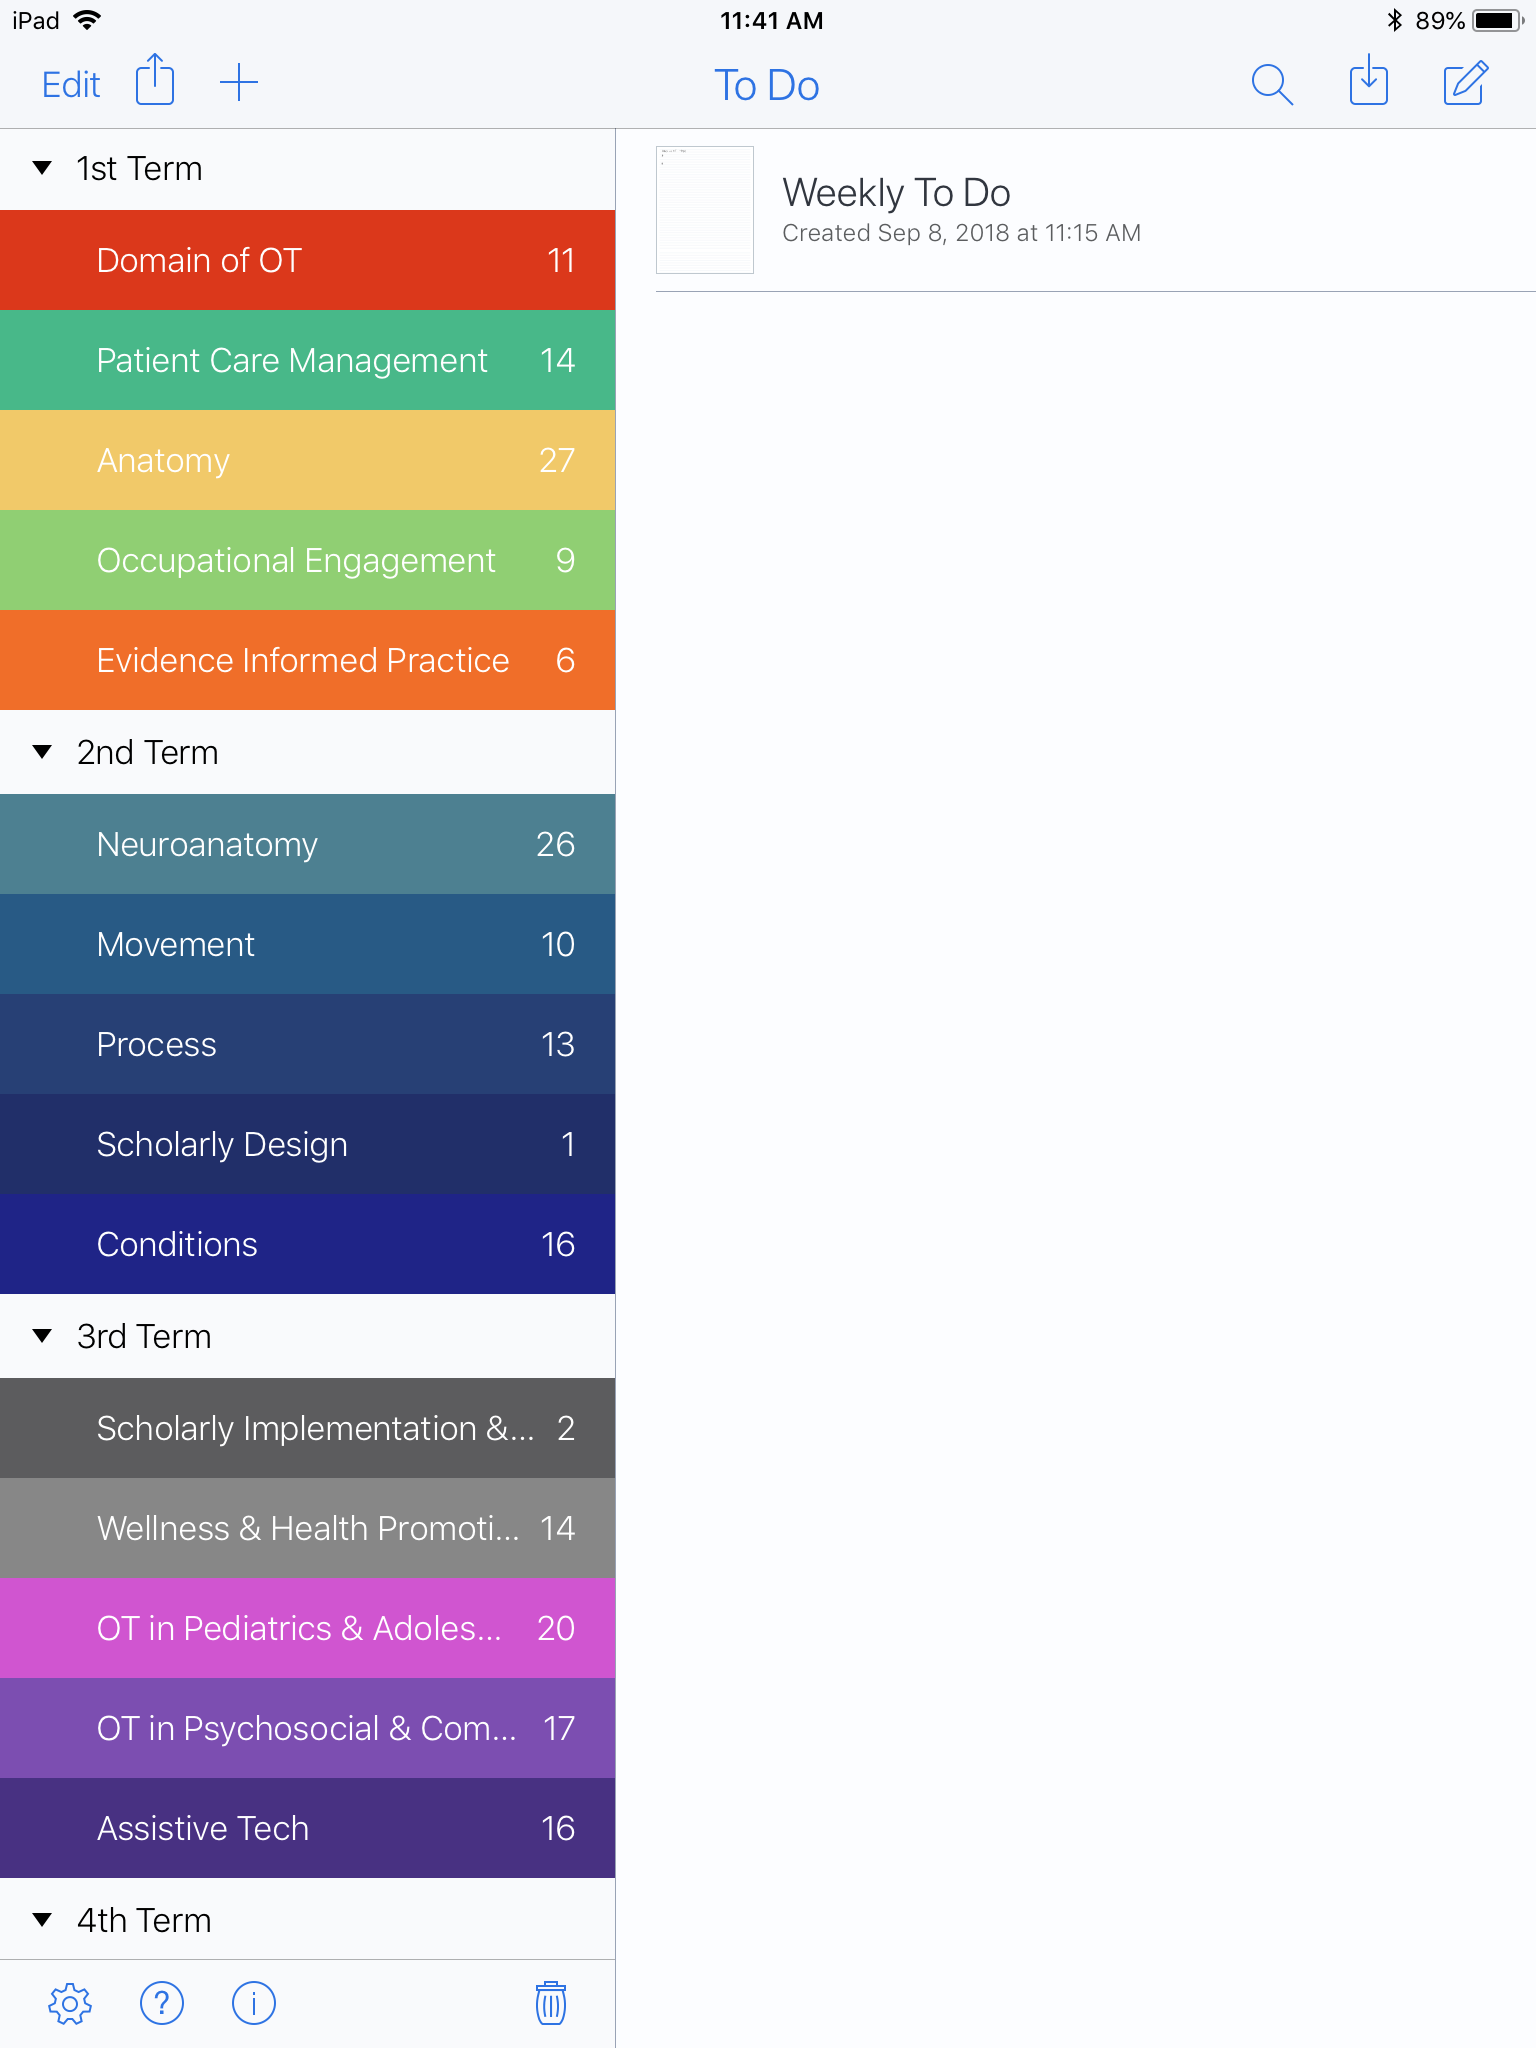
This is what the main page of the app looks like. To the left is basically your filing cabinet. You can create subjects (the colored labels) and dividers (with dropdown menus).
You can file the subjects into the dividers, and all of your notes within the subject they belong to.
As you can see here, I created dividers for each semester of OT school and included a ‘subject’ for each class I had during that semester. Within those classes are all of the handwritten notes I took from lectures and classes, as well as handouts, powerpoint presentations, scans from textbooks, and other resources I downloaded.
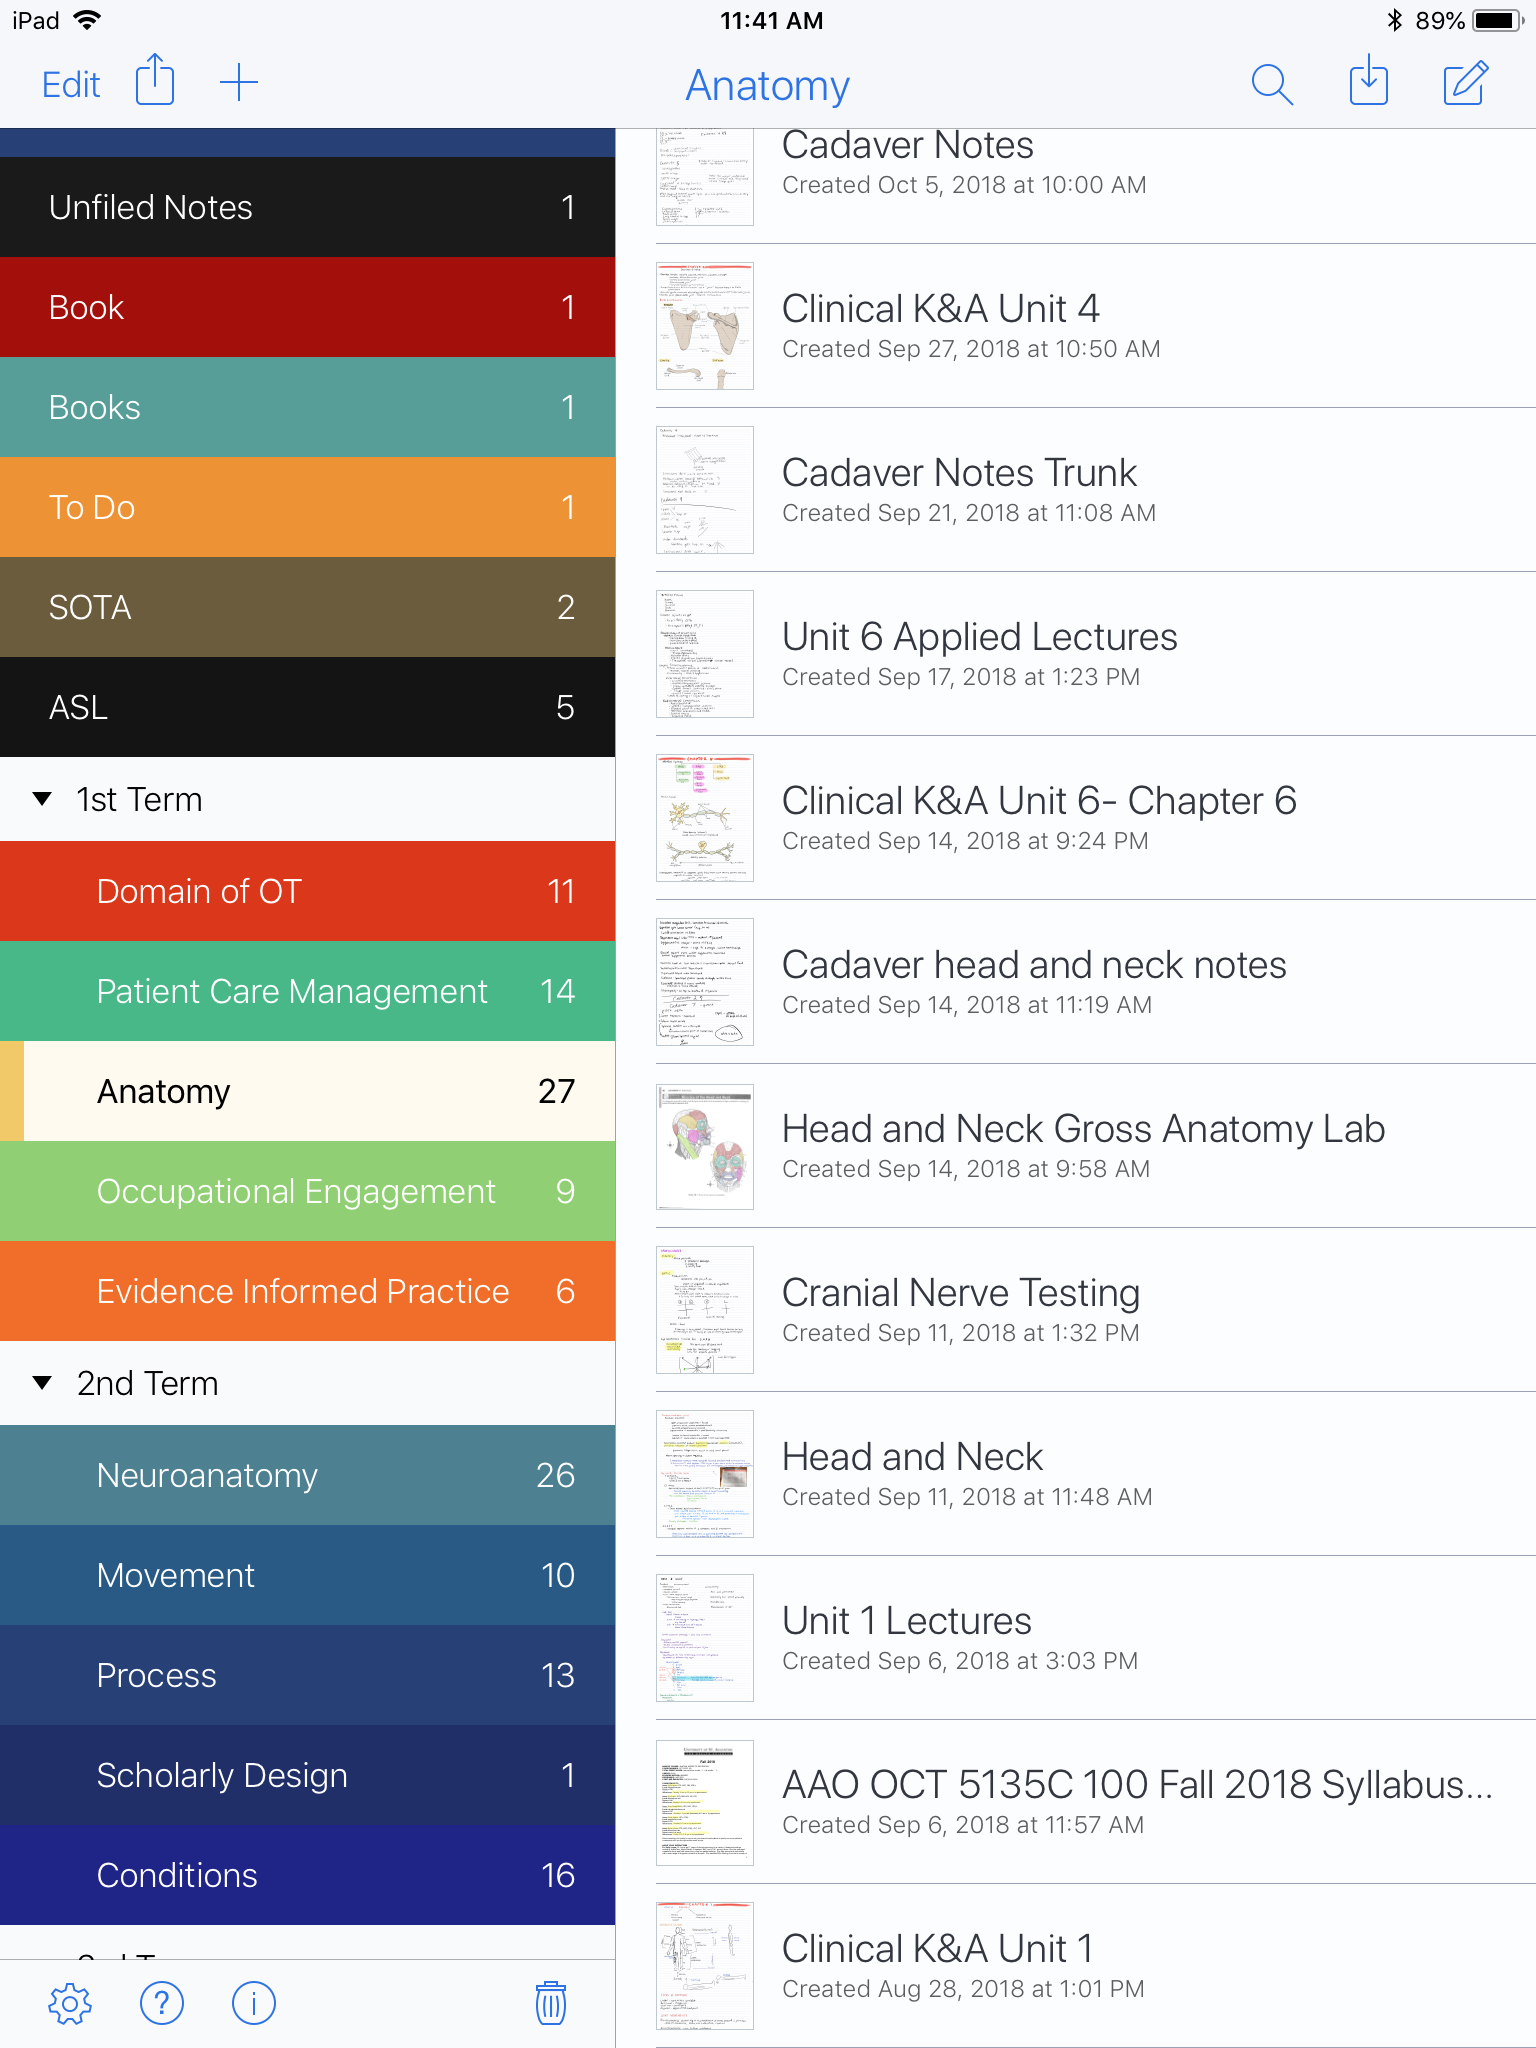
Here you can see what’s inside my Anatomy subject from first term. You can title each note anything you want to make it easy to find.
I always titled my notes by the unit from the class syllabus.
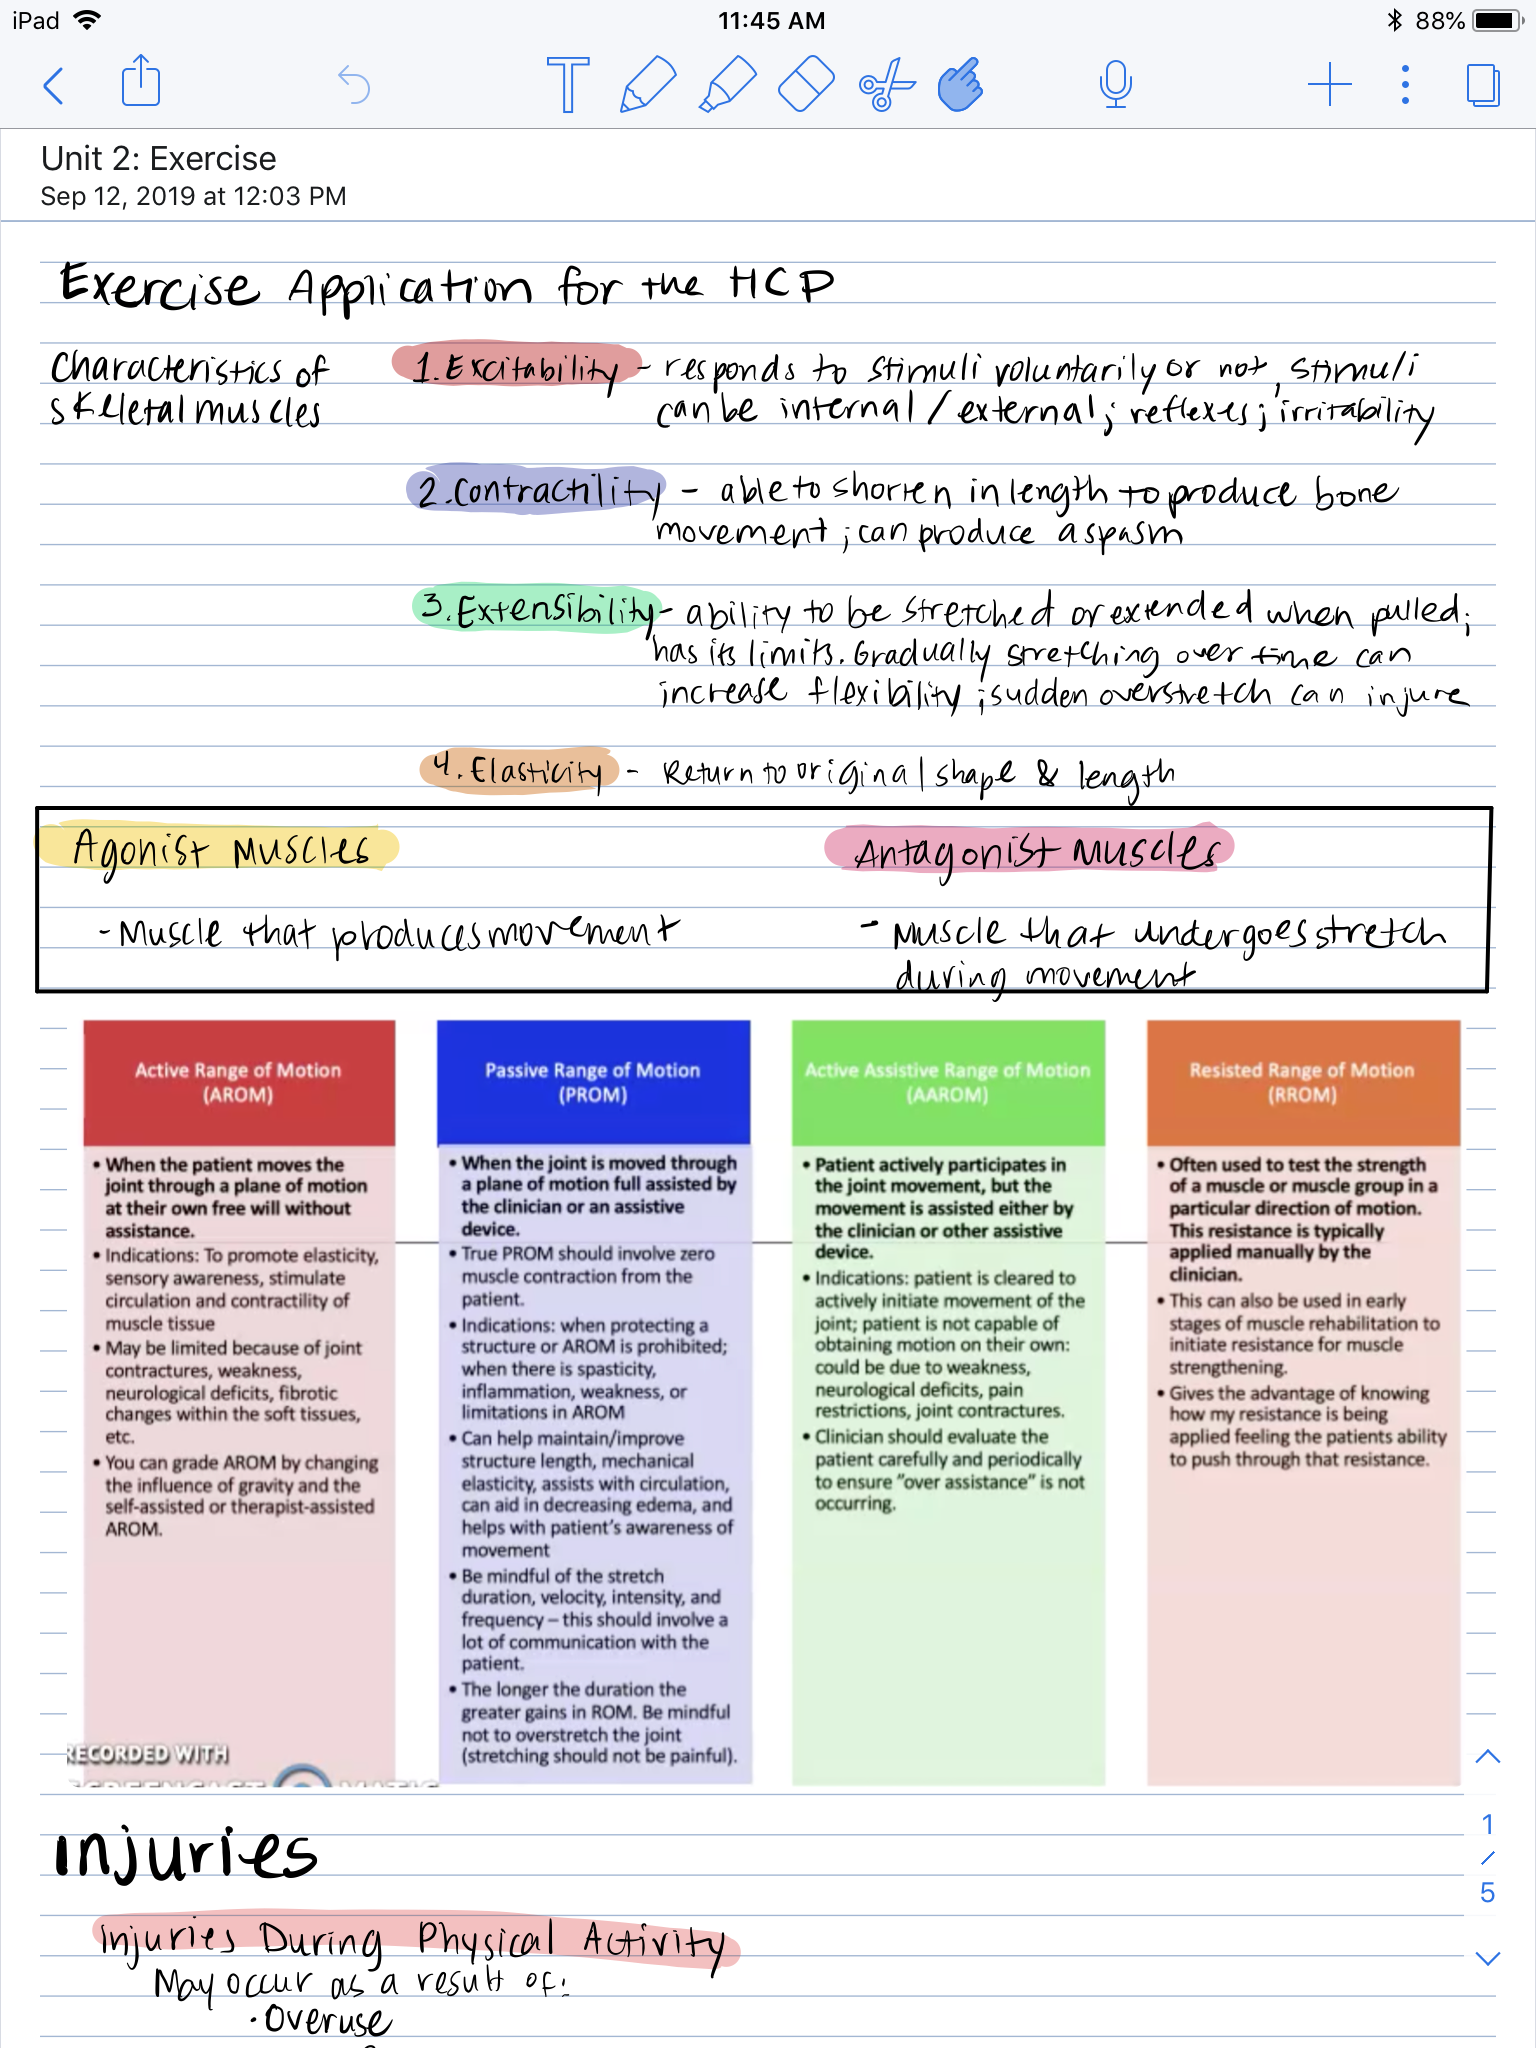
Here you can see some examples of my handwritten notes in anatomy:
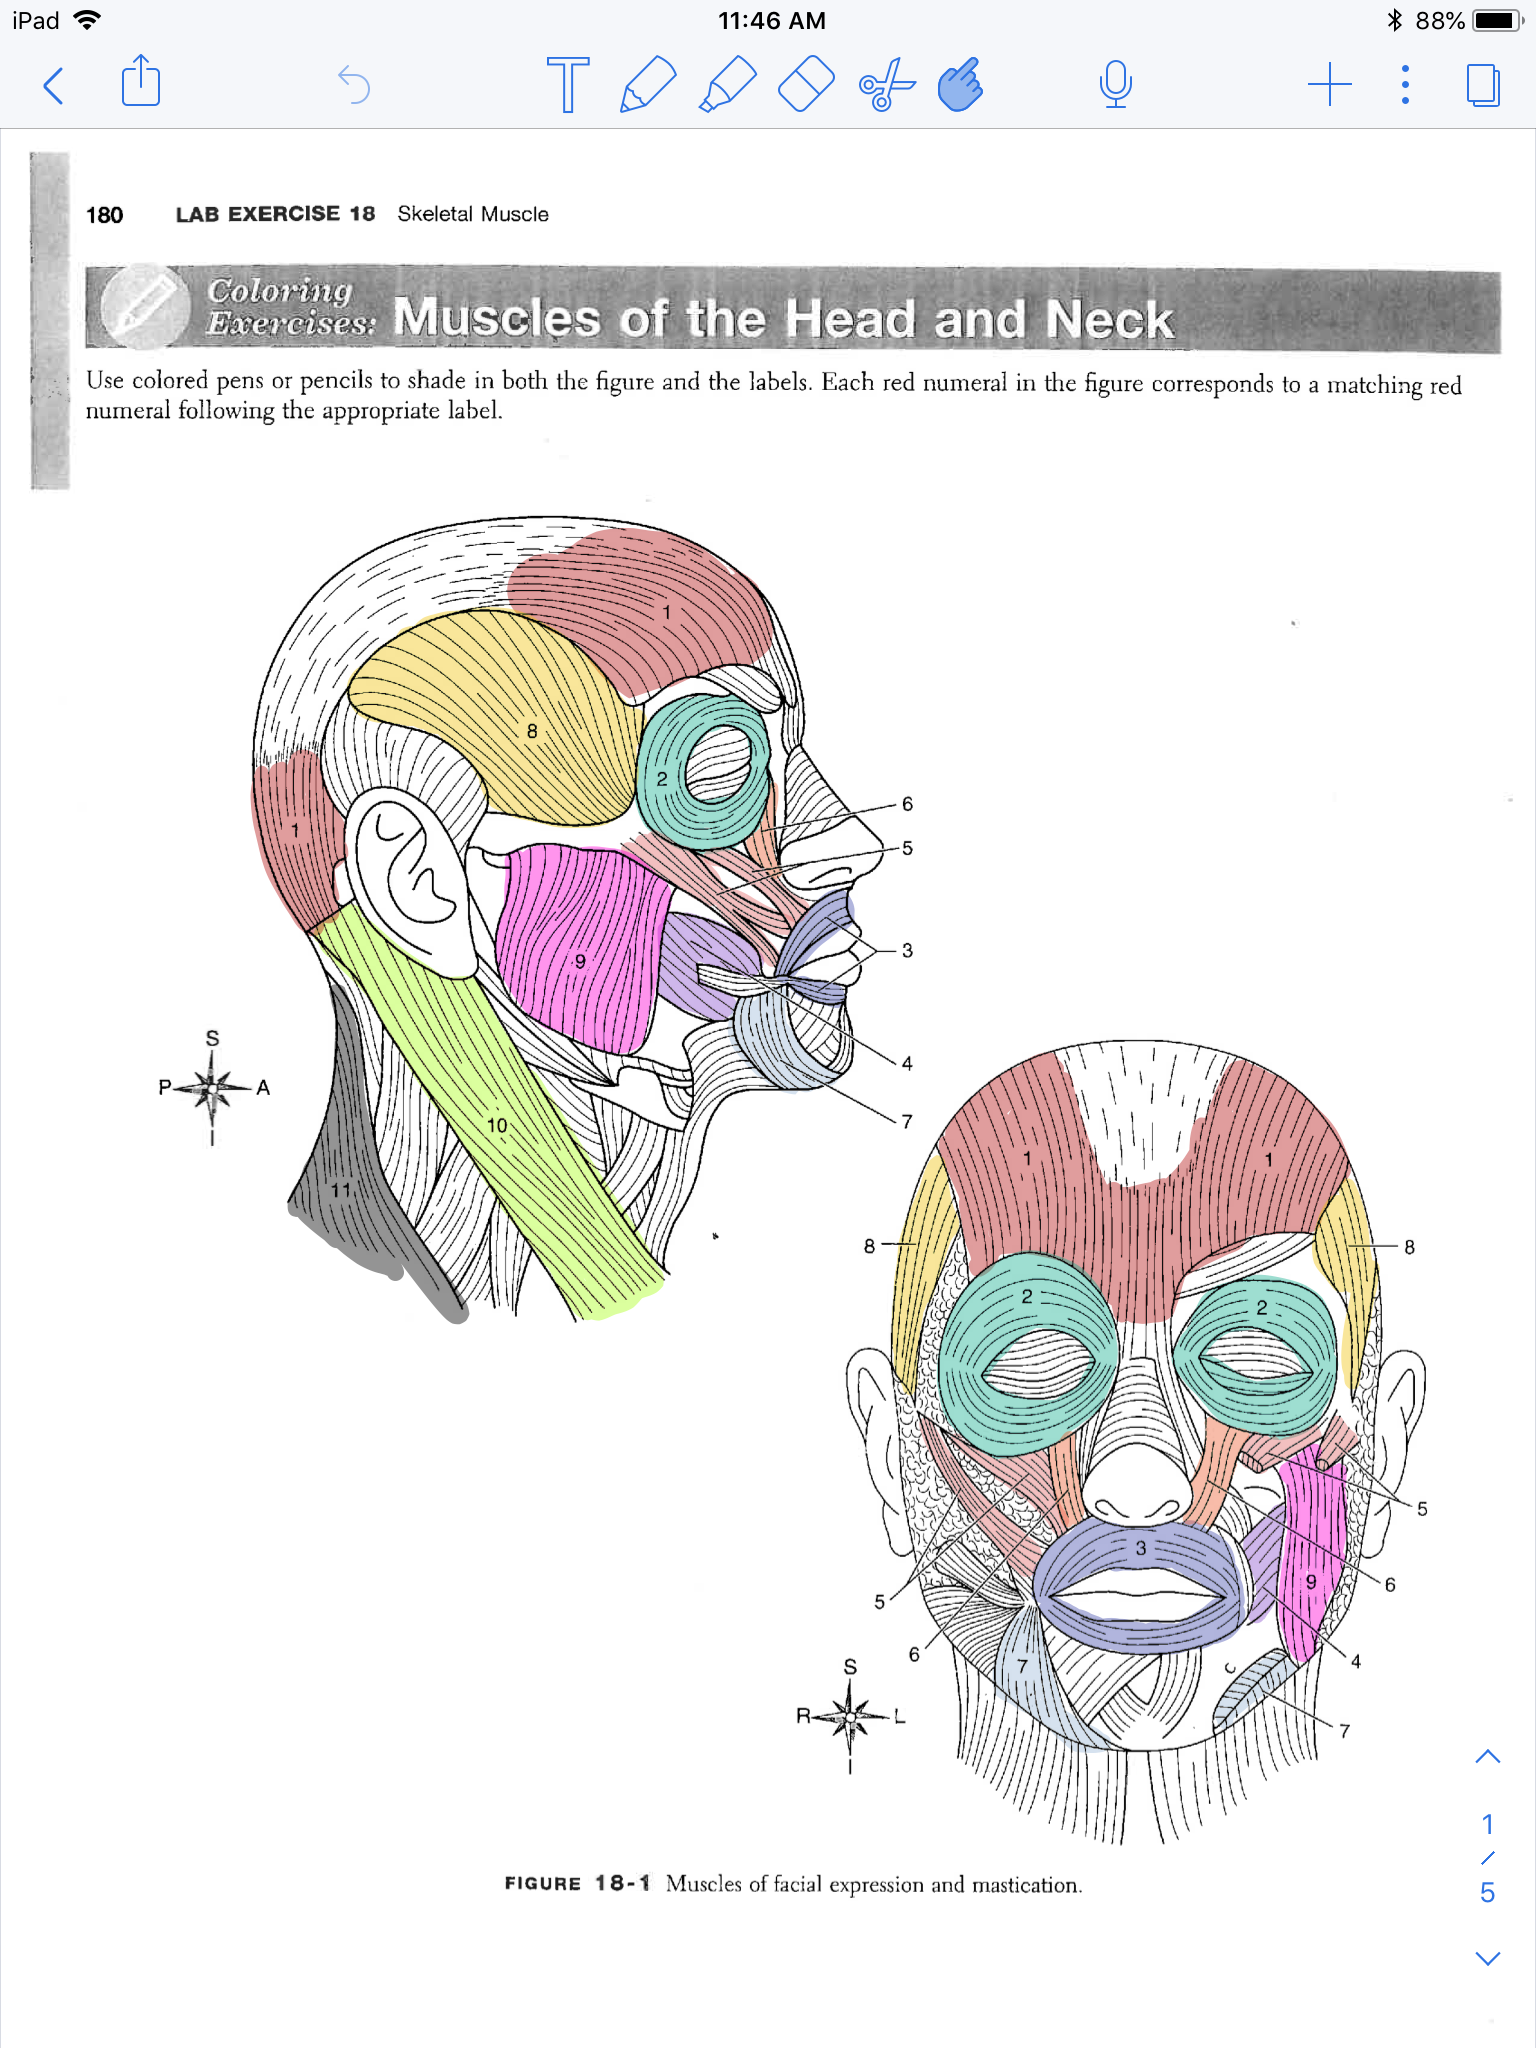
Many of my professors scanned coloring pages like this for us to study from, with Notability, I could easily download handouts and annotate right over them.
There is also another app, Genius Scan, where you can scan in any documents/handouts in black and white or color. I often used this app to scan in pictures and diagrams from textbooks that I wanted to color and label within Notability!
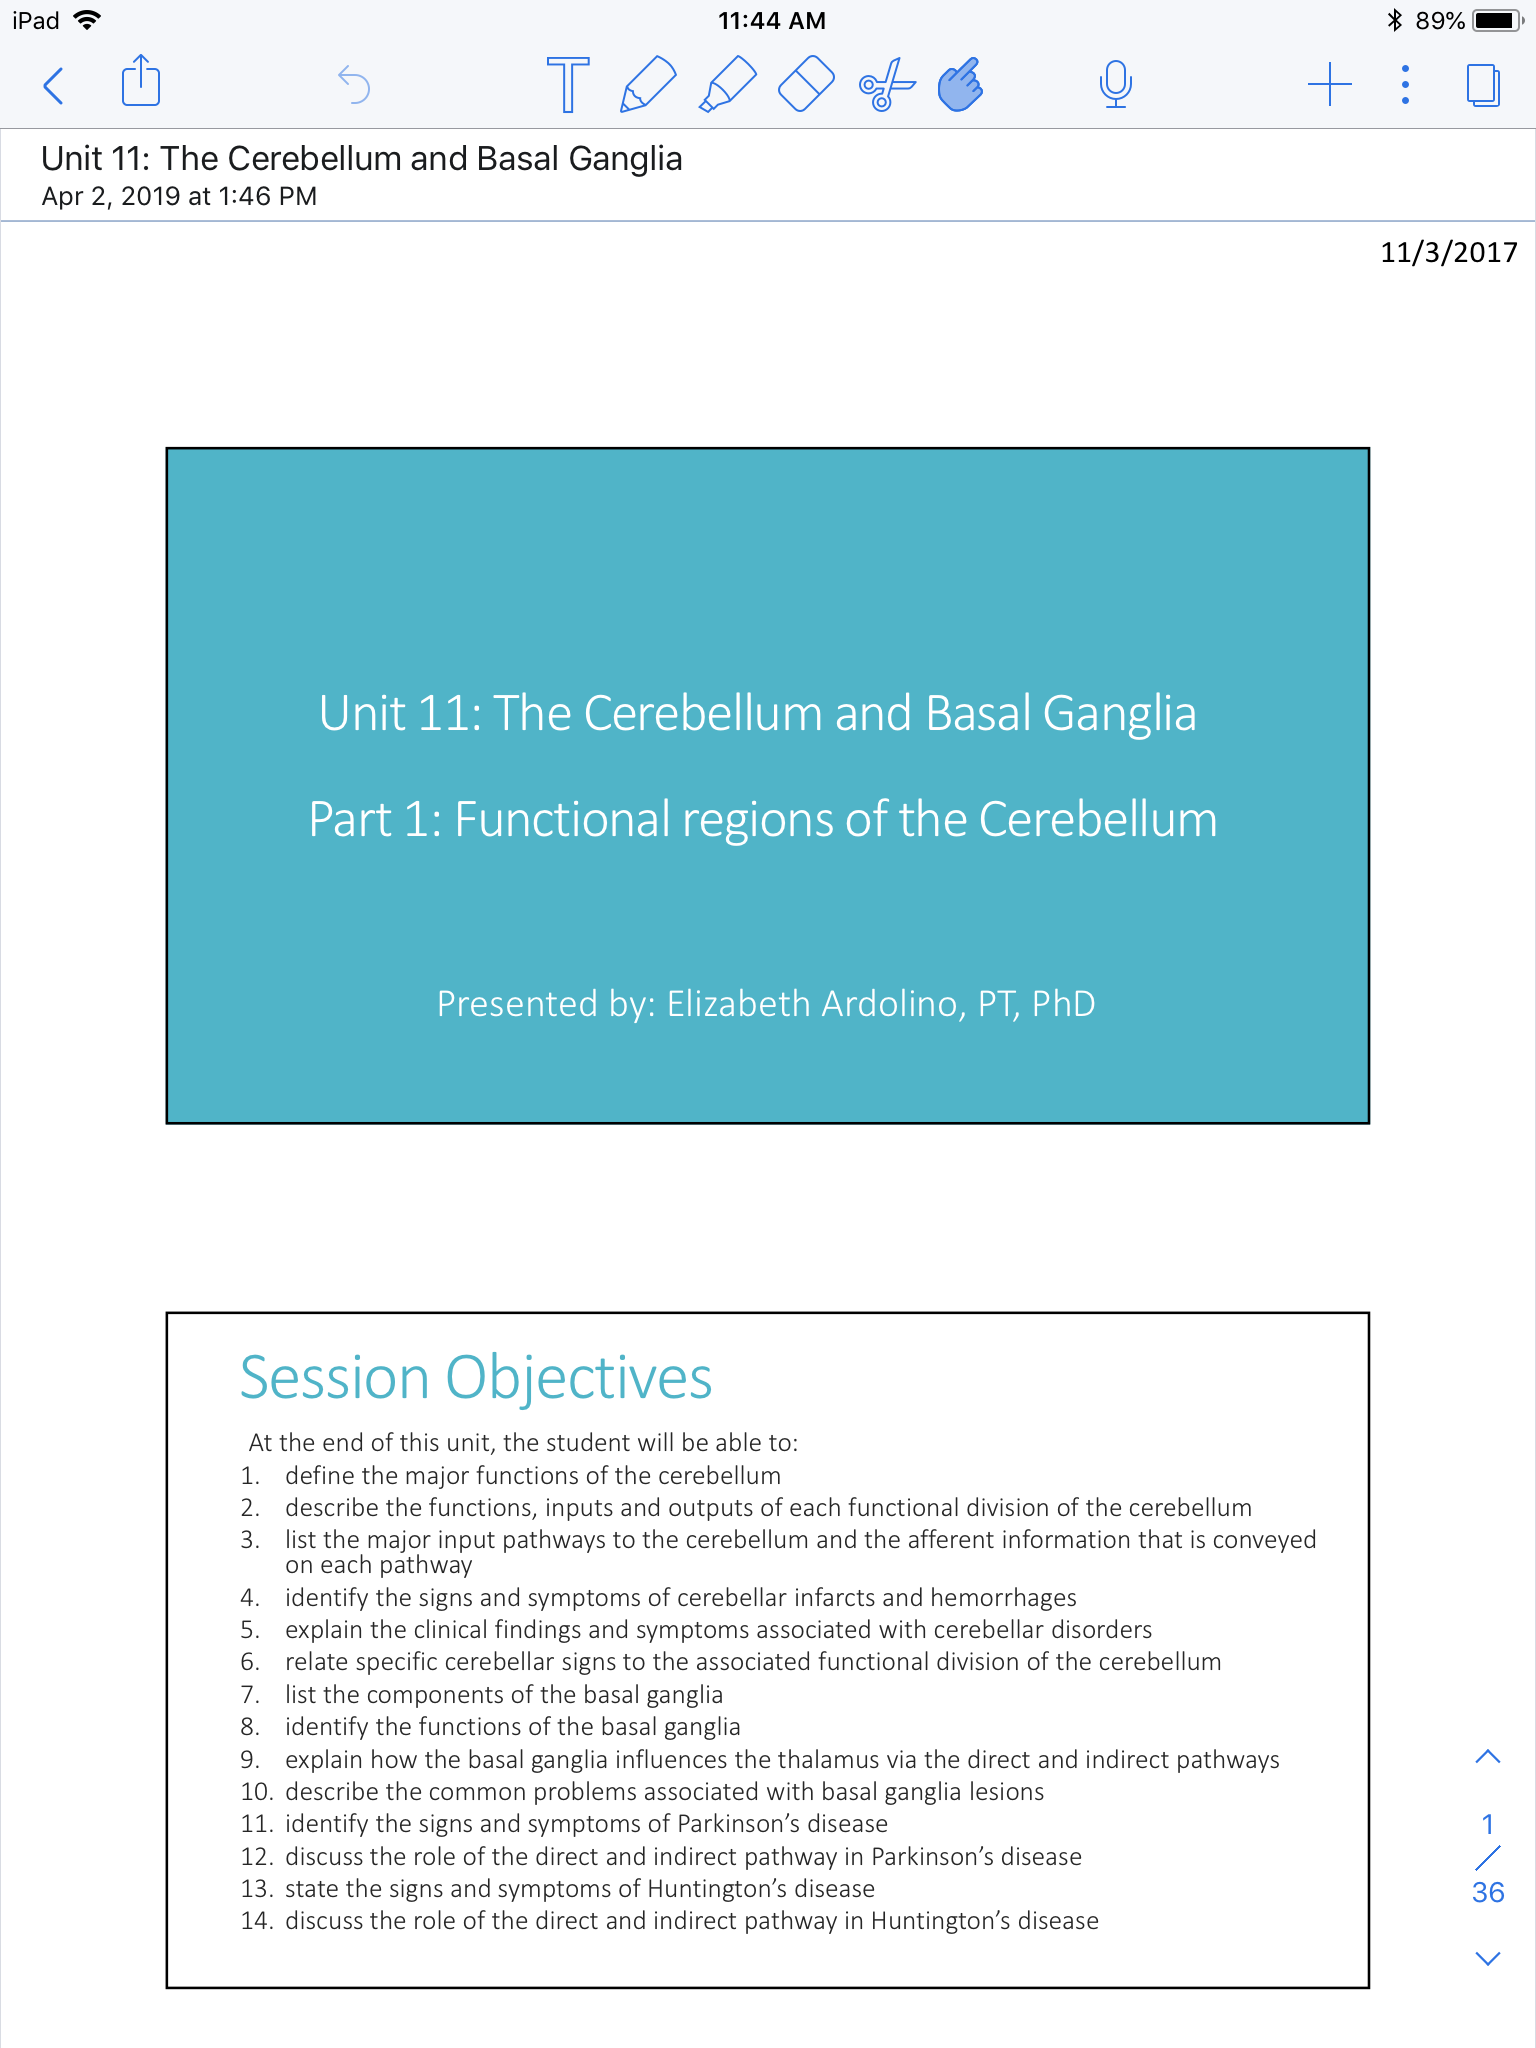
Another great aspect of Notability, is that you can download Powerpoints. Before watching online lectures, I would download the Powerpoint so that I could write notes as they played.
This is also great to have while in class! If there is something you didn’t understand from the online lecture that is clarified in class, you can easily handwrite those notes onto the Powerpoint.
Here you can see a mixture of handwritten notes and a screenshot of a diagram from a class Powerpoint. It is super easy to insert pictures you’ve taken, screenshots and handouts into your handwritten notes.
Features and Tools on Notability: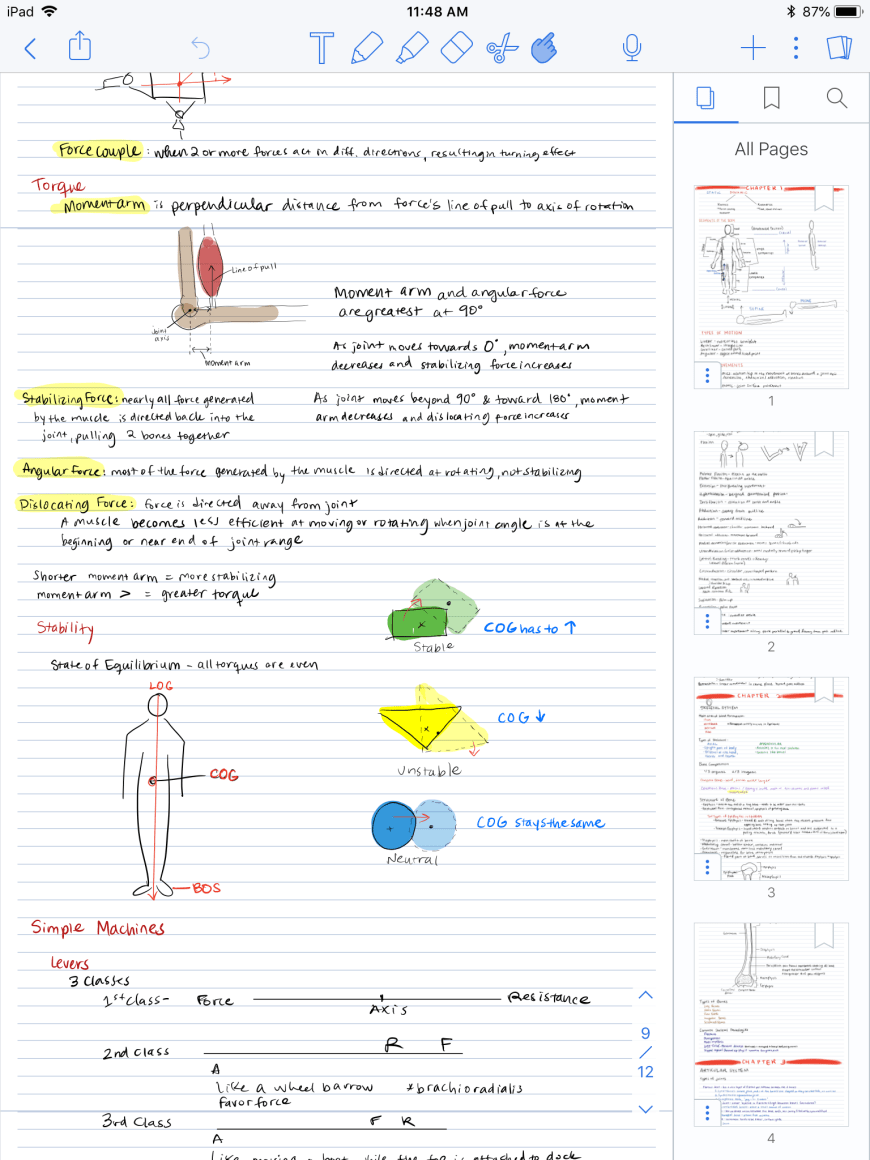
By clicking the three little pages in the top right corner, you can toggle the view of your pages. With this, you can see all of the pages in your document and navigate by clicking the page you want to be on.
If you bookmark a page, or pages, you are able to easily find those pages by clicking on the bookmark icon.
And the magnifying glass icon allows you to search for terms within your notes – and yes, it can search terms in your handwritten notes!!
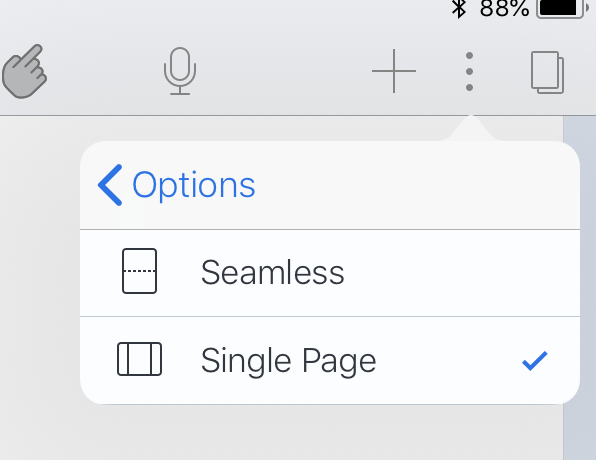
Here, you can change how you view your notes with two options – a seamless vertical view, or single page like a book.
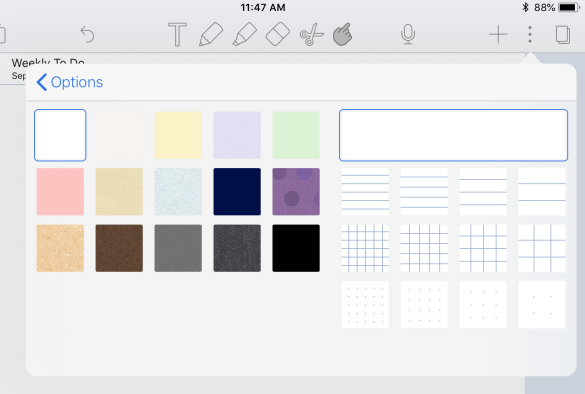
Within those three little dots in the upper right corner, you can also change the color of the page as well as the type of ‘paper’: lined, blank, grid, or dot grid.
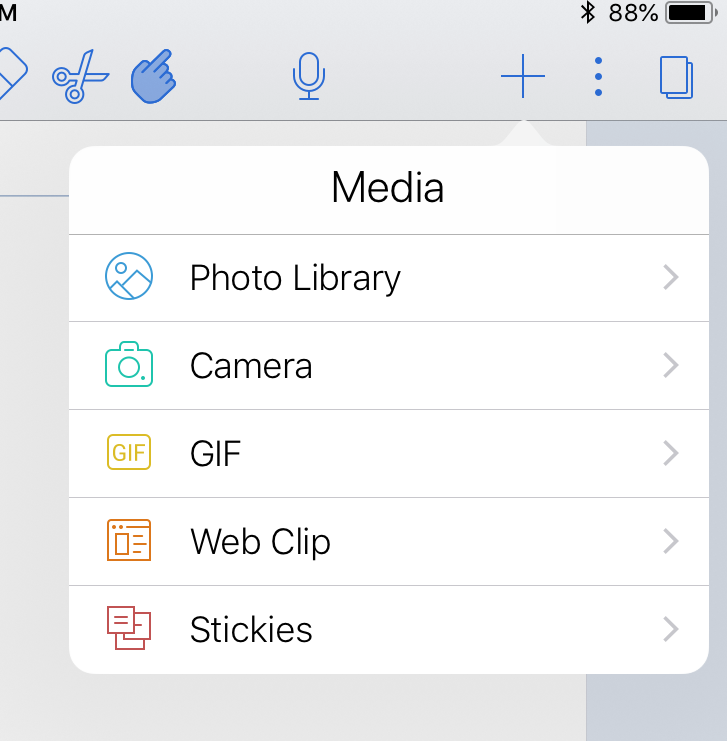
With the plus sign, you are able to add various forms of media, including pictures, GIFs, resources from the web, and sticky notes.
Here are your tools, including the ability to create text boxes, write and highlight with any color and pen size you can dream of, erase, and cut/copy text and images.
There is also a super cool feature where you can convert your handwritten notes into text!


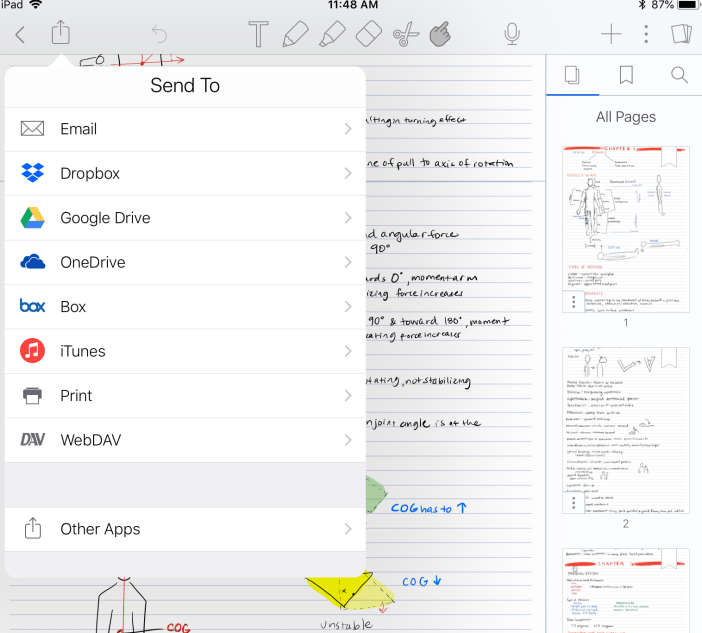
And one of the last features that I’ll highlight is the ability to share your notes in basically every way possible, including printing them!
Other Apps I Used:
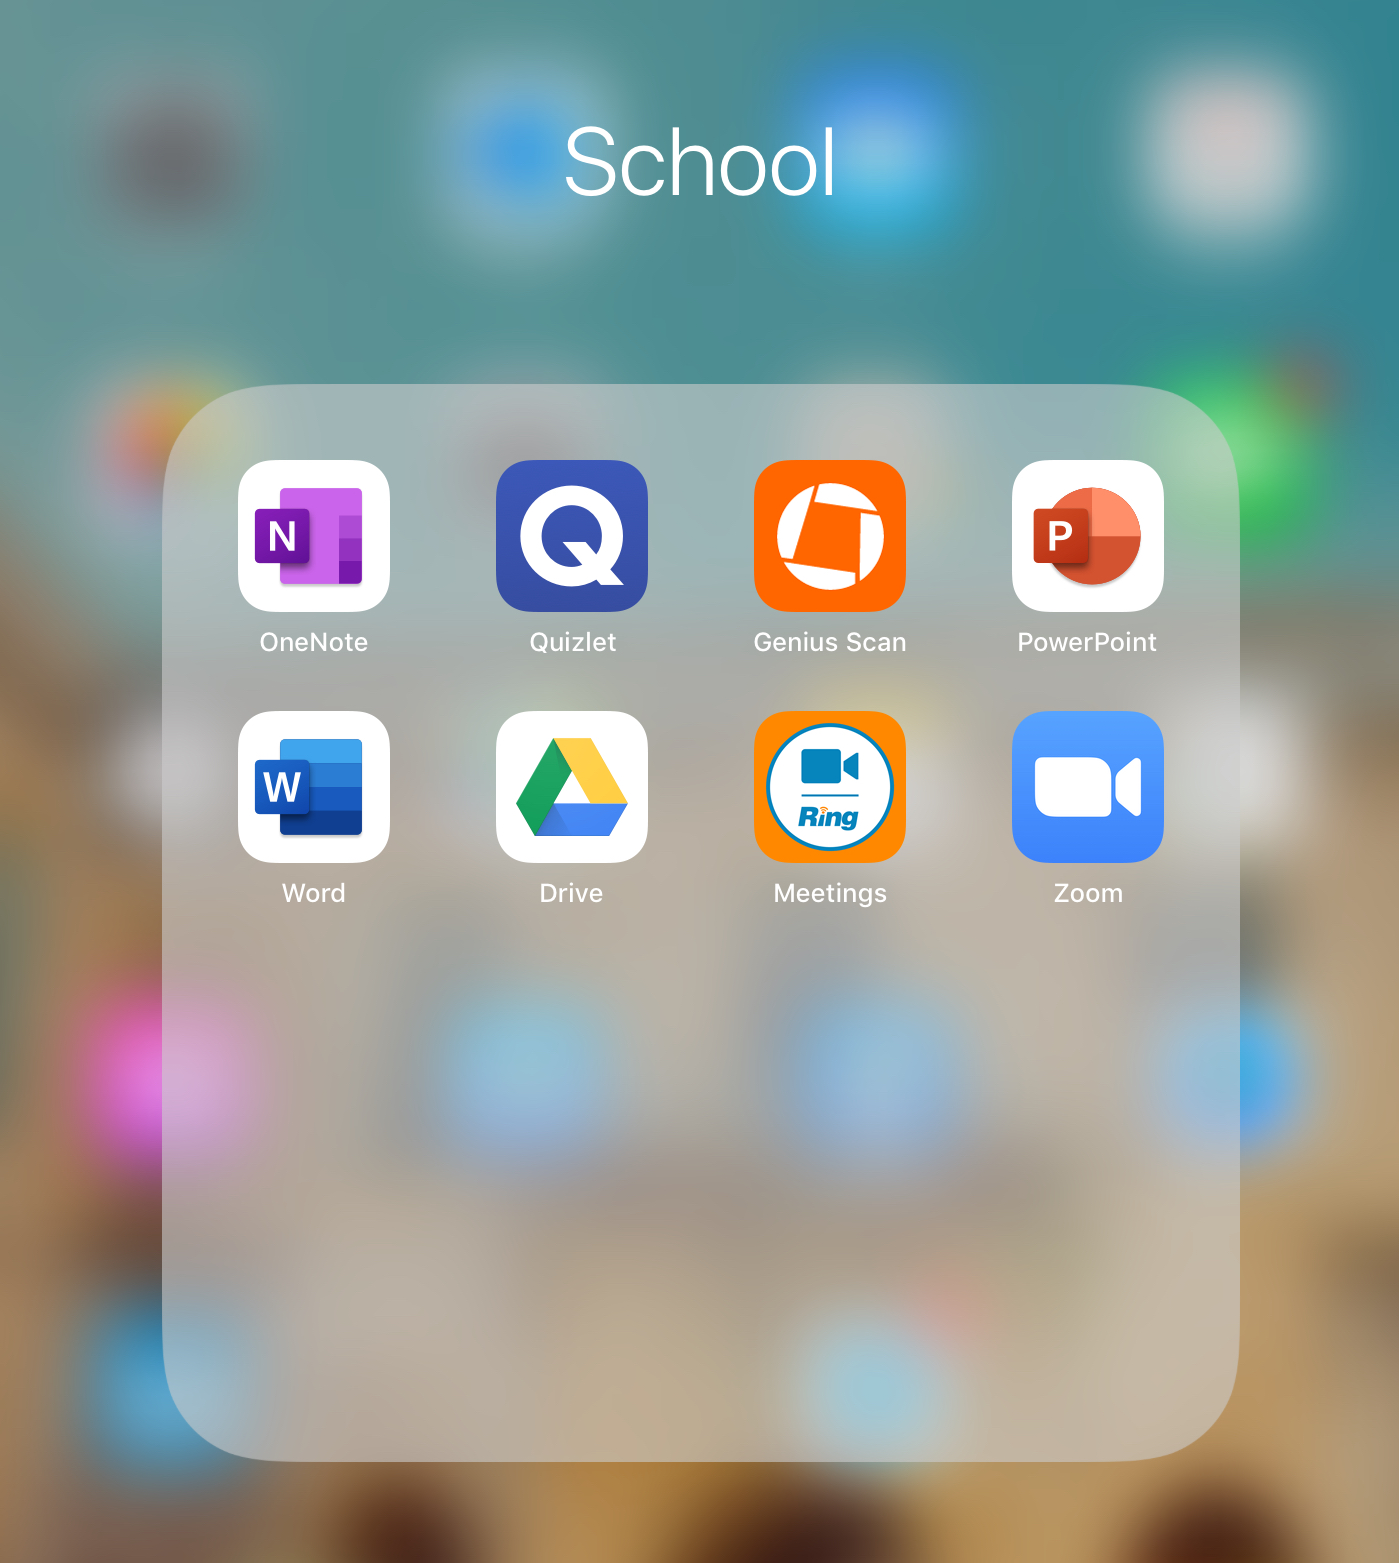
Many of these apps are commonly used by students already, and you can still use them with the iPad!
When I first got the iPad I downloaded all of them to try them out, the ones I actually use are Quizlet, Genius Scan, Drive, and the video meeting apps!
Overall
I absolutely love my iPad and have no regrets with the purchase! I didn’t go with an iPad Pro because all of the extra fancy stuff wasn’t necessary for school – I strictly use my iPad for note taking, research, textbooks and downloading class content.
The most basic iPad starts at $329 and the Apple Pencil is $99.
If you are on the fence about getting an iPad, I hope that this post can help you make your decision. In the end, having an iPad will not make or break your experience in OT school, nor will it make or break your grades. For me, I loved the convenience of it and being able to have digitized handwritten notes.
Let me know what you think! If you have an iPad, how do you take notes?
Edit: If you are looking for a way to organize all of your notes, or guidance on how to organize your OT school life – check out my “OTS Guide to Organization: How to Make Your Own Binder + Additional Resources”! The full guide is up for sale on ‘Buy Me a Coffee’ for $15, and within the guide are checklists for what to include in your study binders for every topic! You can also find note taking templates for Models and Frames of Reference, Muscle Characteristics, and more!

One thought on “How I Used My iPad in OT School”